Showing posts with label walls. Show all posts

Monday, November 21, 2011

On Your Mark, Get Set, DRYWALL!

As promised, here is an update and it just so happens to be about drywall. Did I ever think I would ever be writing about drywall? Um, no.

After the last real post where we ripped out all the walls in the attic, I only felt it appropriate to start there. It didn't take much time for the bare wood to be covered in that glorious stuff they call drywall. I could finally see actual living space starting to form. I may have ideas for what I want something to look like but I really suck at seeing it come together during the process. It's like I can only focus on what it should look like at the end. I get all confused during the middle parts. So you can imagine how excited I was when I could actually see how big rooms were going to be.

I do have to say I was pretty disappointed in the closet space. Our original plan had to be altered due to city codes. (I mean who really needs a door to the bathroom. Why can't you go through a giant closet to get there?) I ended up with a smaller closet that I have to share with Joe. In our current house, we have two master closets and his always has a funky smell coming from it. We've actually never had to share a closet before in our entire relationship. I'm a little worried. Not to mention our new closet is the size of one of our current master closets and mine is packed full. Again, I'm a little worried.

So here's some pictures...

What will be our new sitting room

Looking toward the stairs. You can see our hallway/closet on the left

Future Bedroom with our "Fat Fireman Window"

Future closet (hopefully we can get a handle on the "Joe Funk" before we move in

Bad pic of half of the bathroom. You can kind of see the shower to the left.

Sunday, September 11, 2011

If You Gotta Go...You Gotta Go in the Backyard

So, now that things are wrapping up in the kitchen, Joe decided to demo the only current bathroom in the house. We're not living in the house currently since we're having trouble selling our other house so I wasn't worried about not having any running water for a few weeks. (We even have to go outside and run the water hose when we want to wash hands.)

Heres an original picture of the bathroom...


I know, I know, why even change. That bathroom is just so glorious in all it's goldenrod glory. It's just so perfect! Well one thing led to another and now it looks like this...


You think maybe Joe got a little carried away with the sledgehammer?

Truthfully, what happened was when we took down all that lovely wallpaper (as with the rest of the house) we found some major problems with the walls.  Unlike the other rooms, however, these walls were beyond repair. There was black mold everywhere. Plaster was falling off where they had nailed things in.

The bathroom had never been waterproofed. There wasn't a shower, only a tub. Someone had decided long ago to just attach a showerhead to the tub faucet and hang in on the wall on a hook. This lasted 40-50 years so it was no suprise when I took off the "cover-all flaws" wallpaper that the walls were so water damaged they were literally falling apart. Some plaster even came down with the wallpaper leaving exposed lathe. As into saving all the plaster walls as I am these walls were just too bad.

You can't see it in the pictures but there are also holes in the subfloor.  When Joe and Kyle took out the tub they said the floor was even a little "squishy". And did I mention there was absolutely NO insulation on that outside wall? None! Guess I know why my electric bill was higher for that house than my current one (and no one even lives there!).

So the plan for this bathroom is...
-new subfloor
-tile
-new clawfoot tub
-new toilet
-insulation
-drywall
-board and batten
-new medicine cabinet

The only thing we're keeping from this mess is the sink. I like the vintage vibe it gives the room. We're just going to clean it up and put it back in. So much for staying on budget.

BTW...gotta give mad props to Joe and Kyle for getting that old cast iron tub out all by themselves. They got it through the narrow doorway, hallway, through a bedroom, and into the living room/appliance graveyard. Its currently hanging out there along with the bathroom sink, old toilet, old kitchen sink, refrigerator, and stove. It's almost donation time. I hear the ReStore calling our name.

Monday, July 25, 2011

Primed and Ready to Go

Are you ready to see the finished walls? I like pretending this is a big reveal so I can finally feel some sense of accomplishment. Up to this point we've only been demolishing everything. We've ripped up carpet, ripped up linoleum, pulled out staples, tore down wallpaper, and demolished a bathroom. I needed these walls to look pretty. I needed it bad.

They aren't perfectly smooth. They have character though. I have to remind myself that this house is 73 years old. You don't move into a 73 year old house and expect everything to be even, square, smooth, working, not falling apart, livable, etc.

So, I am a very big fan of these walls. Hubs and I put our brains together to pick the color. We make all wall color choices together. I blame this on the fact he was forced to grow up in a house with lots of purple floral wallpaper but that's a story for another day. We decided on Stone Mason Gray by Valspar but it ended up looking a lot more blue than gray. We still like it nonetheless.

So here it is...


Saturday, July 23, 2011

Joint Compound = Shiny New Walls

Remember these scary walls?

They now look like this...

How did this happen you ask? Easy! (Well, not quite.)

First, we used my uber awesome steamer to steam off what was left of the wallpaper adhesive and washed down the walls. We let them dry for 48 hours. Next, I went around and scraped off all the loose plaster and paint and sanded it all down with a hand sander. (Not fun but necessary.) Then, hubby went around with joint compound and skimmed over all the holes and cracks.

We let the joint compound dry for 24 hours then went back to check on our work. I was totally impressed by hubby's skimming skills. The walls were pretty smooth but still needed a little sanding. So we busted out our hand sanders and went to town smoothing down all the rough patches and uneven spots. (**very important to wear safety goggles and masks-safety first in the Lyon household)

We used our shop vac (recent purchase) to "contain" the dust. <--I just made a joke. Anyone who has done this before knows there isn't any containing of the dust. It gets everywhere! I'm still sneezing even after wearing a mask the entire time.

We did a little Internet research (aka Google) and found a primer with really good reviews. We used Zinsser Bullseye 123 Primer. It was awesome! I was so high after painting that room that I was seeing stars...and the walls looked great too. It covered all the stains and sealed the walls nicely. We ended up buying the 5 gallon bucket because we will be using it in every room in the house. So much to look forward to...

Thursday, July 21, 2011

Hello Walls


The wallpaper is gone and if you read the last post you got a sneak peek of what the walls look like. Scary. Since I've lost my camera I can't show you pictures of the awesome 1940's wallpaper that was under three other layers of wallpaper. I can, however, use my mad writing skills to describe each layer in detail (from the top):
1. "Civil War" paper - I'm not describing it...you've seen it.
2. Pink Spinning Wheel paper - exactly as it sounds...pink...with spinning wheels on it...very, um...colonial?
3. Green/Blue/Gray patterned paper - actually was more like flowers
4. Awesome vintage 1940's paper. OMG Awesome. Can't understand why they ever covered it up. We didn't get to see it all, just bits and pieces. It was just so fragile. It featured big apple trees, cherries, a cow, goats, sheep, a dove sitting on a wheelbarrow, chickens. I was so sad to see it go but it just flaked away. I wanted to save a little to frame but it was so badly aged with three layers on top of it and there was no way to get it off without wetting it...I promise we tried.
5.Pink Paint
6. Robin's Egg blue paint / falling plaster

Thankfully, all these layers were just on one wall. Everything else was just the blue/falling plaster. My friend Dana got that wall. She worked for at least two hours steaming and scrubbing that wall. LOVE YA DANA! Here's her finished product.

Funny story: Dana was washing the wall with a very wet sponge when she started to hear a crackle. See that outlet near the floor. Yep. She had been pouring water into it for 30 minutes. She almost solved all my problems for me.

Tuesday, July 19, 2011

Climbing the Walls

To quote They May Be Giants:
"I got tired of pacing the floor
Sick of it all, I'm done with the floor
Walked away ever since I got a new job climbing the walls . . . "

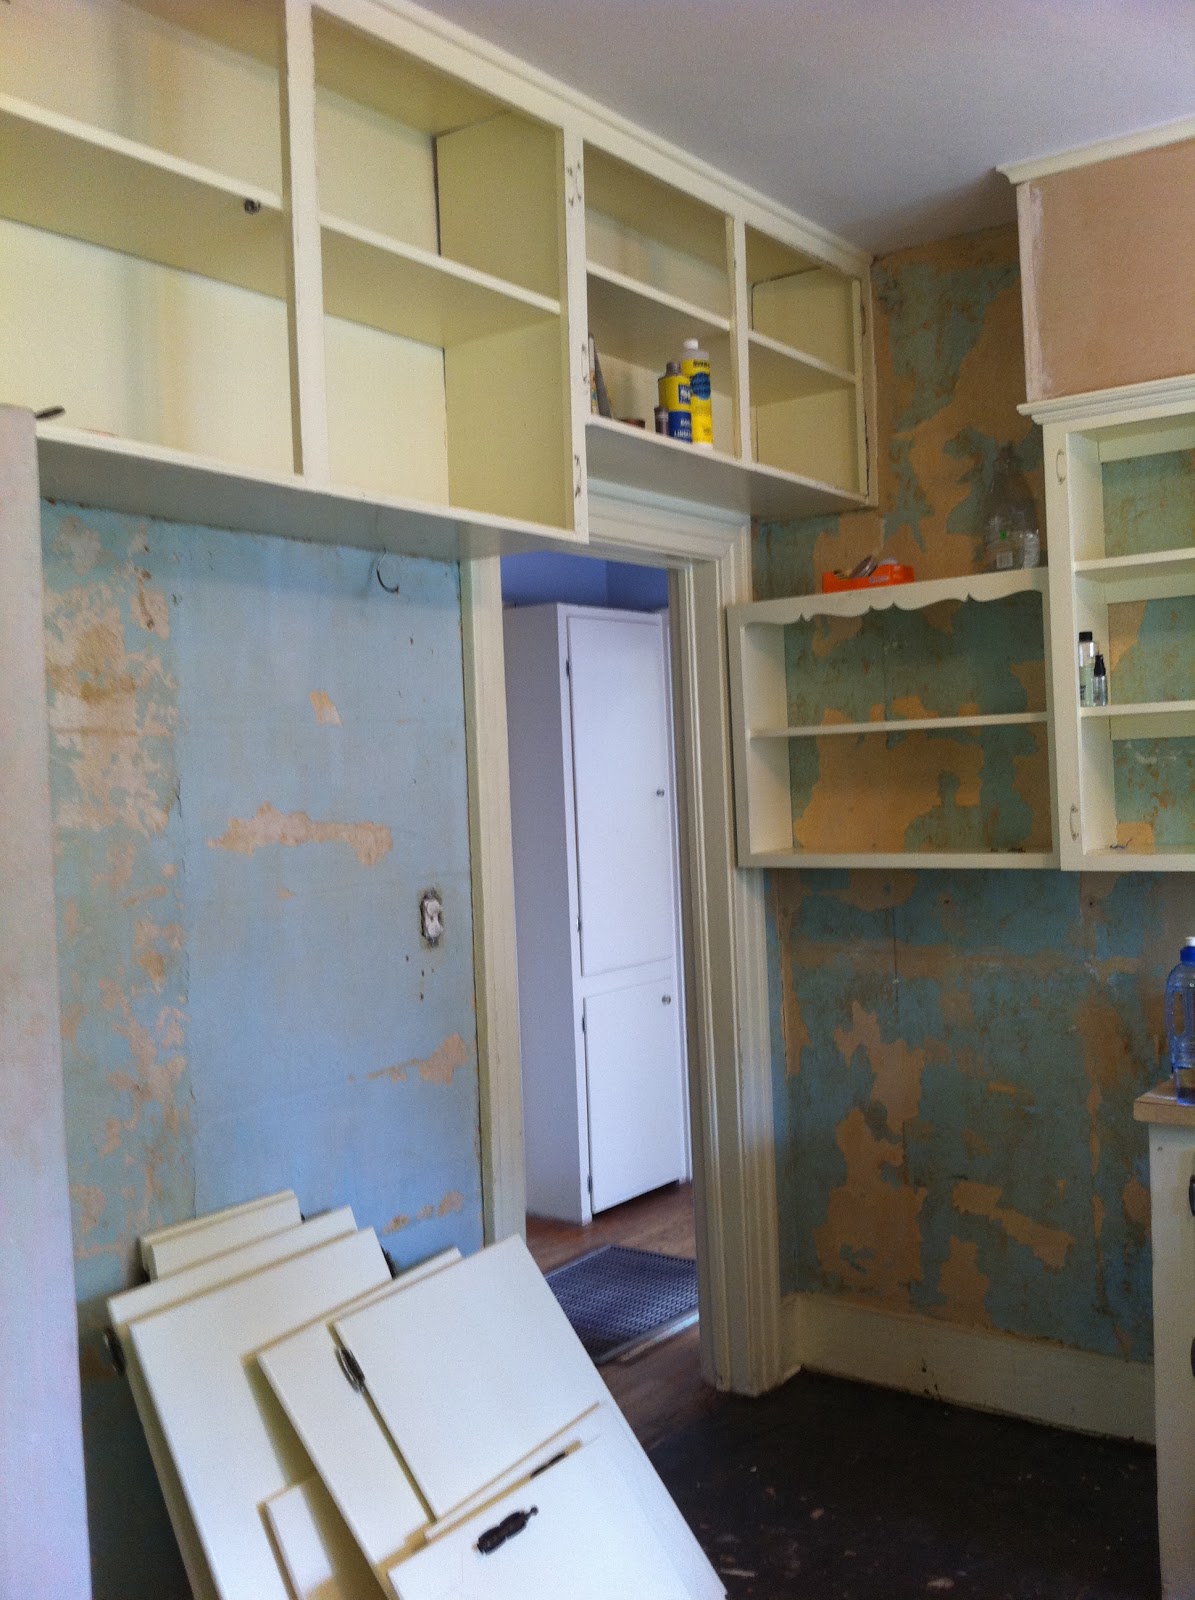
Now that the floors are at a stopping place (for now) we've decided to tackle the next huge kitchen project...the walls. Here's what they used to look like:
As much as I despised  loved the wallpaper, we decided that it just wasn't the look we were going for. Luckily for us each strip of wallpaper came down in an entire piece (no steamer necessary). I neatly folded them up, put them in a bag, and have left them out on the curb for the garbage man. Feel free to drop by and salvage it. I'm sure it would just look lovely in your kitchen/bathroom/bedroom. You could even frame it and put it above your mantel.

Here's what the walls look like now...more to come.